Scans
Diagnostic scans emailed to your garage's uploads address land on the Scans page (Scans in the sidebar, under Main). MechIQ attaches most of them to the right job on its own. The ones it can't match wait here for you.
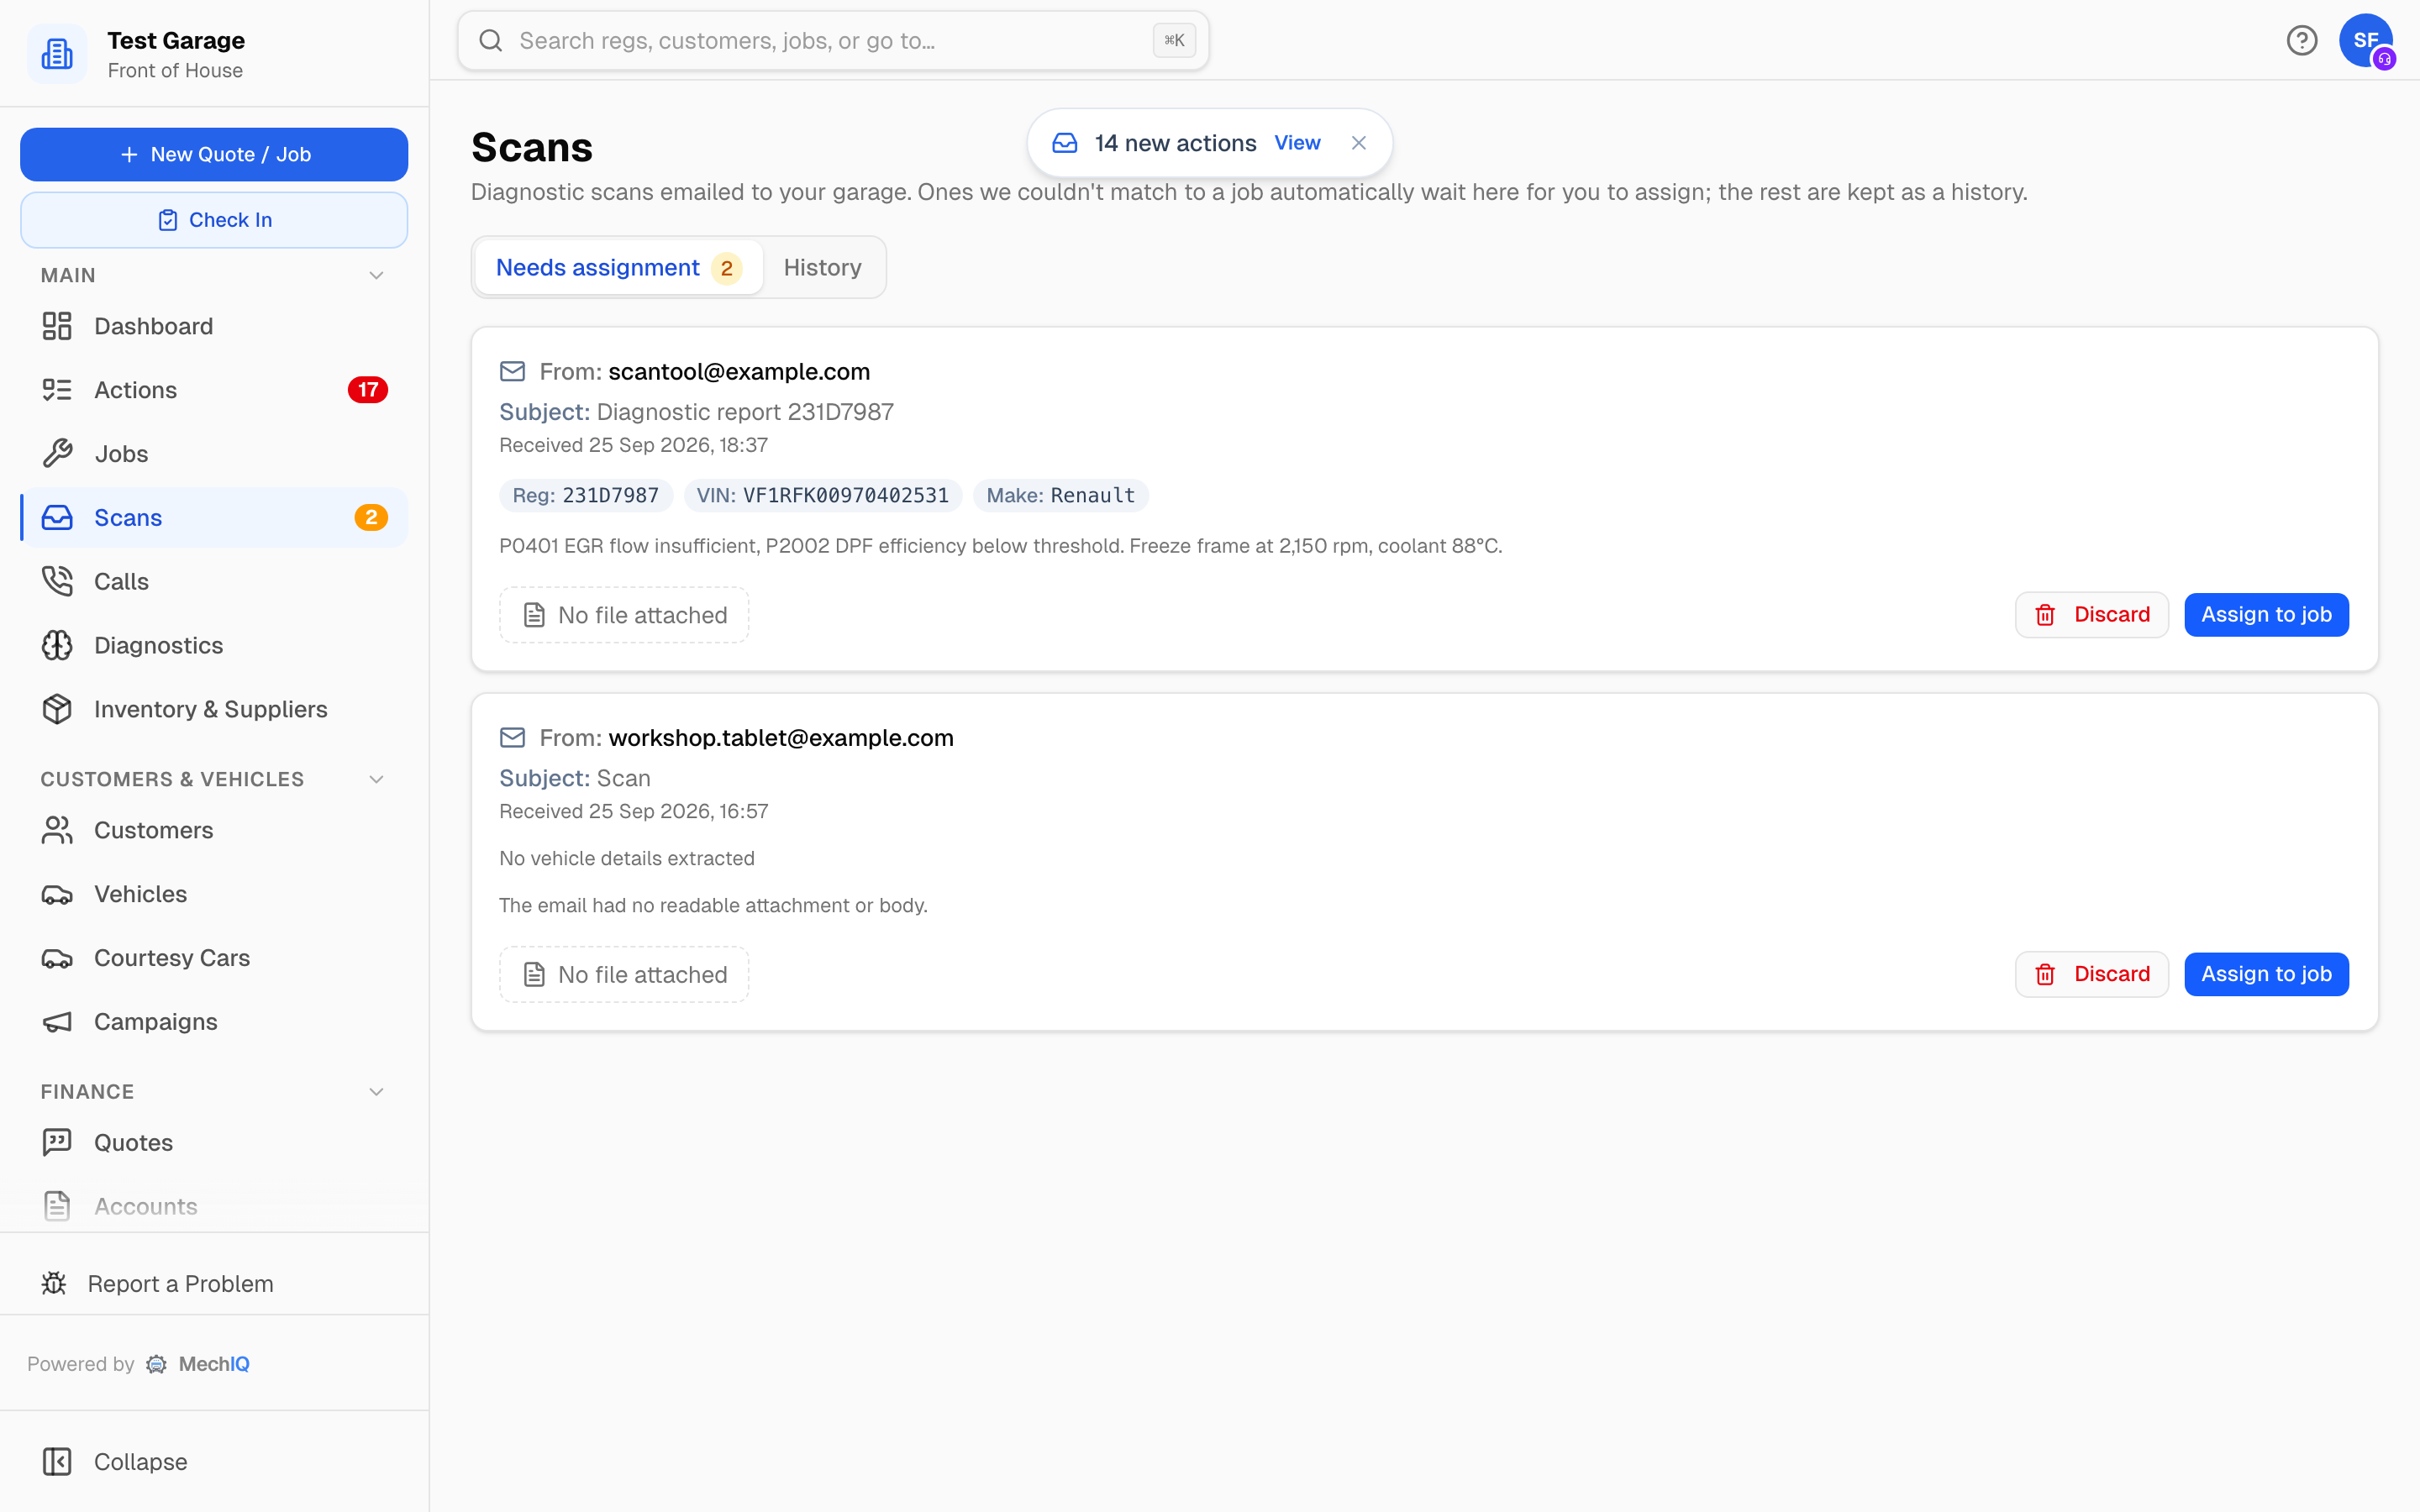 The Scans page: scans that need a job on the first tab, everything that ever arrived on the second.
The page has two tabs:
- Needs assignment -- scans MechIQ could not confidently match to a job. The sidebar item shows an amber count while anything is waiting here.
- History -- every scan that has arrived, whatever happened to it.
For how scans get here, see the Email Diagnostic Scans article. Do not confuse this page with Scan Invoice on the mobile home screen -- that photographs a supplier's invoice for goods-in matching and has nothing to do with diagnostic scans.
What each scan shows
- From -- the email address it came from, and the Subject if there was one.
- Received -- when it arrived.
- Reg, VIN and Make -- whatever MechIQ could read from the report. If nothing could be read you see No vehicle details extracted.
- A short AI summary of the report, when there is one.
- Open PDF (or View text / Open file, depending on what was sent). An emailed photo of the scan shows as a thumbnail instead. No file attached means the email carried nothing usable.
An amber warning starting with Unverified means the AI was not sure the email was scan data at all. Open the file and check before you assign it.
Assign a scan to a job
- Click Assign to job.
- The Assign scan to a job picker opens. If MechIQ read a registration from the scan, the list starts with the open jobs for that reg only: "Showing 2 open jobs for 231D7987. Search to see all jobs."
- To see every open job, type in the search box -- job number, registration, customer or make and model. In that wider list, jobs on the scan's registration carry a Likely match badge. The badge is registration-only; a matching make is never used, because it is far too coarse to trust.
- Click the job. There is no further confirmation.
MechIQ attaches the file to the job (it appears in the job's Assets & History tab), shows Scan assigned -- running diagnosis, and runs the AI diagnosis exactly as if the scan had matched on its own.
Every open job is offered -- including one that's on hold or back with the front desk. If the job you want is not listed, it is complete, collected or cancelled.
Discard a scan
If a scan is spam, a duplicate or not yours, click Discard and confirm. It leaves the queue and stays in History marked Discarded.
Scans flagged as being for the wrong vehicle
When the AI diagnosis finds that a scan's VIN or make contradicts the job's vehicle, it stops: no work plan is generated for that job. Instead the scan comes back to Needs assignment with a warning -- POSSIBLE VEHICLE MISMATCH -- this scan looks like it is for ..., but this job's vehicle is ... -- and a Scan may be for the wrong vehicle row appears on the Actions board with a Check the scan button.
This also applies to a scan a technician uploaded inside a job: it shows here as Uploaded on job J-0294 with the subject Diagnostic scan -- vehicle mismatch. Open the file, decide which car it belongs to, then assign it to the right job or discard it. Either clears the action.
History
The History tab lists every scan, newest first, with a status badge:
- Needs assignment -- still in the queue. Go back to the first tab to act on it.
- Auto-matched -- MechIQ attached it to the obvious job on its own. Nothing to do.
- Assigned -- someone at the desk assigned it.
- Discarded -- binned as not actionable.
Matched and assigned scans carry a Job J-0294 → link so you can confirm where each one landed.
Tips
- If nothing was extracted, click Open PDF, find the registration in the report, then search for the job in the picker.
- Auto-matched scans do not raise a notification for the desk -- they are history, not a to-do. The assigned technician is told the scan was diagnosed.
- Clear Needs assignment at quiet moments so emailed scans don't pile up unmatched.